
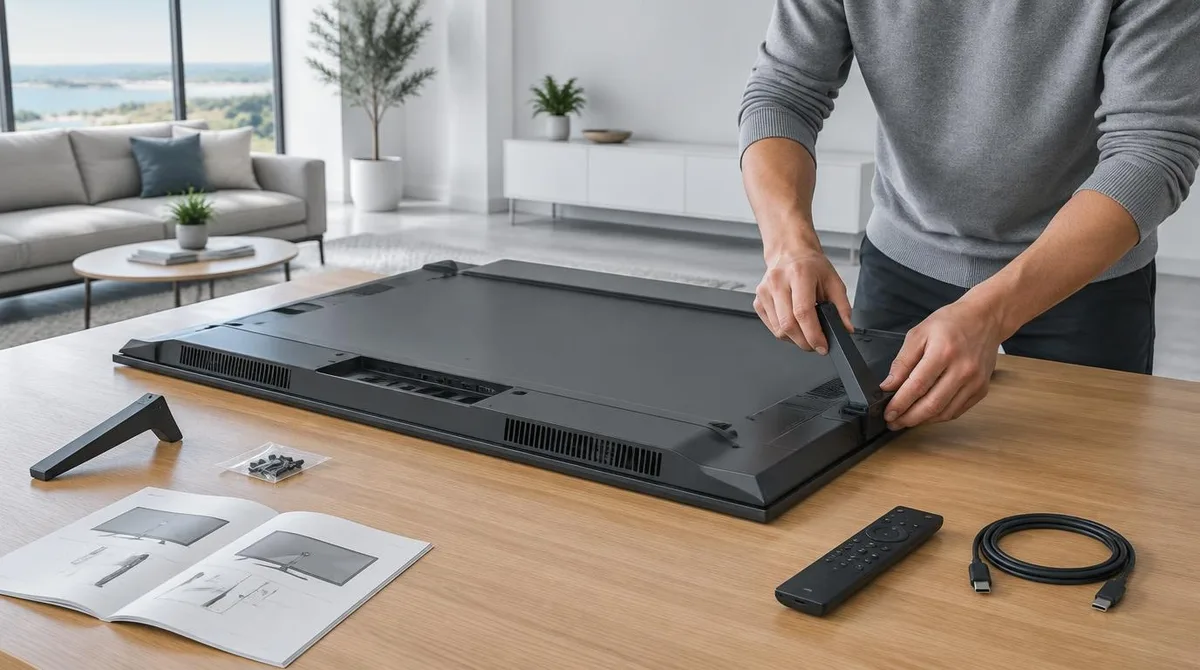
The short version: lay the TV facedown on a table, attach the stand with the packed screws, walk through the on-screen setup, and let the TV install its updates. The catch: on Samsung’s documented flow, skipping the account sign-in leaves a TV with only HDMI inputs and over-the-air channels.
The steps below follow Samsung’s published setup guide for its Smart Hub TVs, checked on the company’s support site as of October 2026, plus TCL’s wall-mount documentation. Menus shift between brands and model years, so treat the wording as a map rather than a script. The printed Quick Setup Guide in the box wins wherever the two disagree. This connects to our earlier piece, How to Set Up a New Android Phone in 2026, Step by Step.
What Comes Out of the Box?
Expect paper, screws, a remote, and a power cord. Samsung’s guide says the Quick Setup Guide sits on top when the box opens, with the stand installation steps and the parts list inside it, while the remote, power cord, stand screws, and manual come in a bag. Remotes split two ways: rechargeable models charge over USB-C, and the rest take the included batteries. Keep that printed guide handy, because the stand steps reference it directly.
Stand First, or Wall Mount First?
Stands go on before the TV powers up. Samsung’s documented method: lay the TV facedown on a large flat table, for models smaller than 75 inches, with a soft blanket over the surface and a helper for lifting the panel. Wall mounting flips the order, and TCL’s documentation says to verify three things against its charts:
- The VESA hole pattern, measured in millimeters between mounting holes; 200mm by 200mm means the holes sit 200mm apart.
- Screw length, because the wrong length can damage the TV in a way the warranty does not cover.
- The mount’s maximum weight rating against the TV’s weight.
TCL also suggests photographing the serial number tag before the panel goes up, a small step that pays off when support asks for it.
What Happens During On-Screen Setup?
The documented Samsung flow runs: pick a language, choose Smartphone or Remote setup, then accept the Smart Hub terms. Phone setup uses the SmartThings app, preinstalled on Samsung phones and a download elsewhere, with the phone on the same Wi-Fi network the TV should join, linked by scanning a QR code. After the terms, the TV checks for updates and installs them, a step the guide says can be skipped and finished later. Samsung’s setup guide walks through every screen in order.
Do You Have to Sign In to an Account?
No, and the documented trade-off is real. Samsung’s support page states that without an account login, only external device connections such as HDMI and over-the-air TV on tuner-equipped models stay available. Streaming apps sit behind the sign-in, and Samsung notes a separate device may be needed just to create the account. The guide adds that signing in can surface model-specific feature prompts, such as Active Voice Amplifier or Adaptive Picture, which not every TV carries.
What Should Be Ready Before Movie Night?
Three things finish the job. Scan for channels with the cable source or antenna connected, per Samsung’s post-setup checklist. Plan the HDMI inputs and note which device landed in which port; Samsung even suggests keeping a written record of HDMI sources and account passwords. Then open the Settings menu for picture adjustments, which Samsung’s support pages point new owners toward for the available picture options. Readers following this should also see How to Set Up a New Device the Right Way: A First-Day Checklist.
Conclusion: Box to First Show in One Afternoon
The documented path is short: unbox on a table, stand or mount per the printed specs, run setup, decide on the account with the HDMI-and-antenna trade-off in mind, and let the TV install its updates before apps and picture tweaks. What these sources do not settle: menu names and presets on brands other than Samsung and TCL, so keep the printed guide within reach for model-specific wording.