
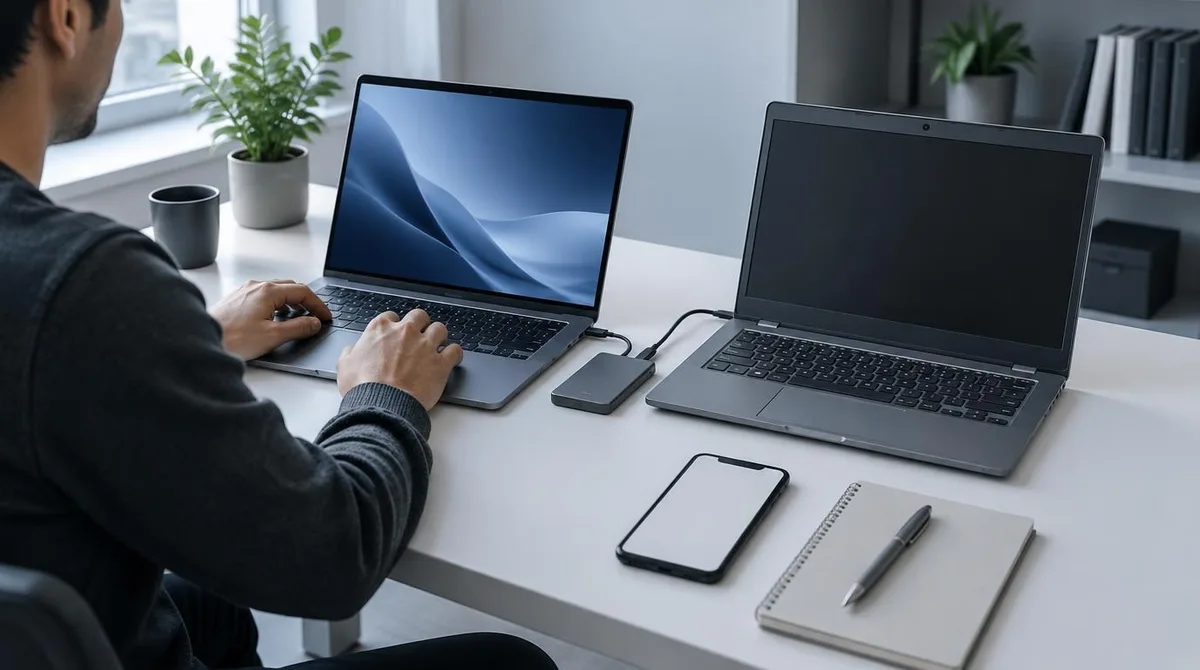
The right order for a new computer is accounts first, transfer second, backup before any wipe. Sign in, move two-factor codes, run the documented transfer tool, then keep a full backup until the old machine is gone. The catch is storage: Microsoft's Windows Backup syncs to OneDrive, and a free account includes 5 GB as of October 2026.
The sources here are platform documents, checked October 2026. Apple's Migration Assistant page says the tool copies documents, apps, user accounts, and settings to a new Mac and never deletes anything from the old one. Microsoft's Windows Backup guide covers the Windows path: account sign-in, folder sync, and settings. This connects to our earlier piece, How to Set Up a New iPhone and Transfer Everything From Your Old One.
Which Accounts Come First?
Sign in to the backbone accounts before any files move: the Apple ID or Microsoft account, the password manager, and the authenticator that holds two-factor codes. Multifactor authentication protects accounts even after a password is stolen, per CISA's Turn On MFA guidance. Those codes have to travel with you, not trail behind you.
- 1. Sign in on the new machine with the platform account that drives restores: Apple ID on a Mac, a Microsoft account on Windows. Backups attach to that sign-in, so it goes first.
- 2. Move authenticator codes by each service's documented export path before the old device goes dark. A missing code can lock a login out for days.
- 3. Sign in to the password manager and let it sync, so logins are ready the moment the transfer ends.
- 4. Reassign software licenses that tie to hardware. Deactivate the old machine where a vendor requires it, or an activation slot disappears with the wipe.
How Do the Transfer Tools Work?
Each platform documents its own mover. Apple's checklist asks for up-to-date macOS on each Mac, Wi-Fi on, and the machines near each other for a wireless run. It also says antivirus, firewall, or VPN software should stay off until the transfer finishes. Windows pairs the old and new PC through the Windows Backup app. Readers following this should also see How to Set Up a New Device the Right Way: A First-Day Checklist.
For a Mac-to-Mac move, Apple's steps read like this:
- 1. On the new Mac, open Migration Assistant and choose to transfer from a Mac, a Time Machine backup, or a startup disk.
- 2. On the old Mac, choose transfer to another Mac, then confirm the security code matches on both screens.
- 3. Select the accounts, apps, and folders in the checklist, then wait for the copy to finish.
On Windows, Microsoft's Windows Backup guide runs through the app: sign in with a personal Microsoft account, toggle on the Desktop, Documents, Pictures, Videos, and Music folders, back up settings, then sign in on the new PC to restore. Work and school accounts do not qualify, per the same page.
What Gets Backed Up Before the Wipe?
Nothing gets erased until a full backup exists outside both computers. Apple's documentation supports a restore from a Time Machine backup, so one final Time Machine run catches anything the migration skipped. On Windows, an external drive copy plus the OneDrive sync covers folders the 5 GB cap could not hold.
- 1. Run a final platform backup: Time Machine on the Mac, Windows Backup plus an external copy on the PC.
- 2. Spot-check the folders that matter most: photos, taxes, active projects.
- 3. Only after a normal week of work, erase the old drive.
What Belongs in the First Hour?
The first hour is verification, not decoration.
- 1. Update the system first; Apple's setup notes ask for current macOS on each Mac, and Windows Update handles the same chore.
- 2. Open the folders you use most and confirm files open, not just appear in a list.
- 3. Sign in to mail, calendar, and browsers, then confirm two-factor prompts reach the right device.
- 4. Turn on a backup schedule so day one on the new machine is also day one of protection.
Conclusion: Order Beats Speed on Setup Day
The sequence is the recommendation: accounts and two-factor codes, then the documented transfer tool, then a verified backup that outlives the old hardware. Mac-to-Mac movers get the cleanest documented path in Migration Assistant, per Apple's guide. Windows households should start from the Windows Backup app and a personal Microsoft account, with an external drive alongside.
Apple also documents a PC-to-Mac route through the same tool, so mixed-platform moves have a mapped path. What these sources did not establish: transfer speed on a given network, or how well specific third-party apps survive either migration. Check a vendor's page before trusting licensed work to any mover.